Sketch tool
Draw the collision diagram. Paste a photo or pick a roadway template, place the vehicles and annotate the measurements.
How the editor works
A reference for each part of the editor above. For a step-by-step walkthrough, read how to draw a traffic accident diagram. For a finished drawing with its description, see the examples page.
The road layout
The Roadway template panel has 23 ready-made layouts: 4-way crossing, T junction, Y fork, Turn lanes, Skewed crossing, Roundabout, Curve, Highway, Highway ramp, One-way road, Rural road, Railroad crossing, Cul-de-sac, Full parking lot, Angled parking lot, Parking lot, Angled parking /, Angled parking \, Parking lot exit, Vertical parking /, Vertical parking \, Divided boulevard and Gas station. Custom and Blank show only the grid, and Custom also switches to the Road tool. The editor starts on the 4-way crossing.
A template is a fixed background: its parts cannot be selected or moved. Changing the template keeps everything drawn on top of it.
For a layout no template covers, use the Road builder panel. With the Road tool (key D), drag across empty space to lay a straight or curved road, 1 lane, 2 lanes or 4 lanes wide, with or without a center line. The ready-made pieces (90° curve, S curve, T junction, Crossroads, Roundabout, Y fork, Angled cross, Divided road, On-ramp, Cul-de-sac, Driveway, Parking row and Angled parking) are added at the center of the canvas. Every road stays editable: select it to drag its ends (they snap onto other roads), bend it with the blue dot, move it, change its width or length, straighten it or delete it. Clear my roads removes only the roads you drew.
Elements and their numbers
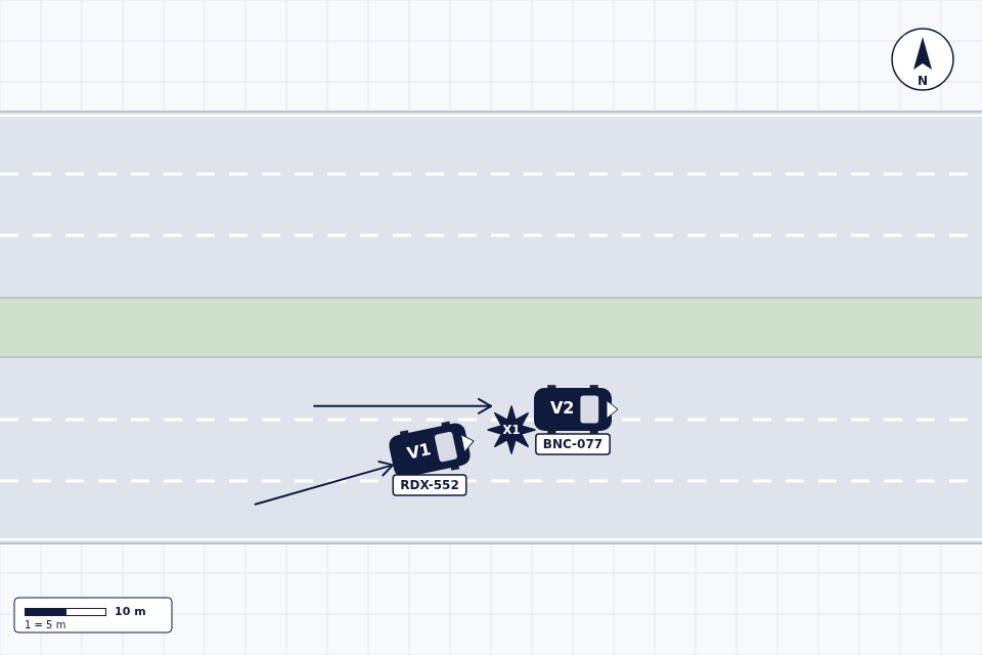
Tap an element in the Elements panel, then tap the canvas to place it (Esc cancels). Some elements get a label as they are placed:
| Element | Label when placed |
|---|---|
| Car, Truck, Bus, Motorcycle, Bicycle | V1, V2, V3… (one series for all vehicles) |
| Pedestrian | P1, P2… |
| Traffic light | S1, S2… |
| Impact | X1, X2… |
| Sign | "STOP" (change the text in the Label field) |
| Cone, Text, Street name | No label |
A new number is one higher than the highest number already used with that letter, so deleting V2 does not free V2 for the next vehicle. A label you rename no longer counts. Duplicating a numbered element (Ctrl+D) gives the copy the next number.
Each vehicle has a License plate field and a Description field, shown under the canvas while the vehicle is selected. The plate prints in a tag under the vehicle; the description appears only in the export's vehicle table.
Select an element to move it, rotate it with the top circle or resize it with the bottom square. The Selected element panel adds size (40% to 300% of the standard size), rotation, 15° steps, bring to front, send to back, duplicate and delete. Dragging an element onto the "Drop here to delete" area that appears at the bottom of the canvas also deletes it.
Drawing tools
Pen, Line, Arrow and Rectangle draw in the color and width chosen in the Color panel. Holding Shift keeps lines and arrows to 15° steps and makes the rectangle a square. These strokes are painted onto one drawing layer: once drawn they cannot be selected or moved, only undone (Ctrl+Z) or erased. The Erase tool rubs out strokes and also deletes any element, measurement or road it touches.
Measurements, units and scale
With the Measure tool (key M), drag from one point to another. The label shows the length of that line converted with the scale setting, to one decimal, followed by an asterisk: for example "12.5 m*". The asterisk marks a number calculated from the drawing. There is no field to type a distance measured at the scene, so a label is only as accurate as the positions you drew. Select a measurement and drag either end to adjust it. With Snap to grid on, ends snap to half a grid square; Shift keeps the line to 15° steps.
The Unit setting switches between meters and feet. The Per grid square setting offers 1, 2, 5 or 10 m, or 5, 10, 20 or 50 ft; the starting value is 5 m. The canvas is 24 by 16 squares, so at 5 m per square it covers 120 by 80 m. Changing the scale does not resize anything on the canvas; it changes the numbers that the measurements and the scale bar print.
The scale bar is two squares long and prints their total (10 m at the starting scale) and the value of one square ("1 = 5 m"). The Scale panel turns the Scale bar, the North arrow and Snap to grid on and off. Drag the compass on the canvas to point north, or rotate it in 45° steps with the button.
Tracing a scene photo
In the Scene photo panel, paste a screenshot or aerial photo with Ctrl+V, drag it onto the canvas, or use Upload photo. The photo replaces the template (templates are unavailable until you remove it) and is fitted to the canvas without stretching. Roads, elements, strokes and measurements are drawn on top. Opacity goes from 20% to 100%, and the photo rotates from 0° to 359° or in 90° steps. The editor keeps a copy at most 1,600 pixels on its longer side.
The grid is not drawn over a photo, and there is no way to calibrate the scale against the photo: measurement labels still come from the per-square setting.
The guide how to trace a photo of the accident scene walks through it.
Exports: PDF, PNG and print
All three produce the same sheet. From top to bottom:
- The title "TRAFFIC COLLISION SKETCH", in the editor's language.
- One line with the Case number, Date and Officer / Examiner fields, printed as "-" when empty.
- The notice "Illustrative diagram. Measurements are not forensic and must be verified independently."
- The canvas as drawn: template or photo, roads, strokes, elements, measurements, and the north arrow and scale bar if they are shown. Selection handles are left out.
- When there are vehicles, a Vehicles table with one row per vehicle: ID, Type, Plate and Description.
- When you wrote one, the Narrative, up to 12 lines.
- Other elements: every other labeled element, for example "X1 — Impact". Text boxes and street names are not listed.
Export PNG downloads the sheet as a PNG image 960 pixels wide. Export PDF downloads one landscape US Letter page with the sheet placed on it as a single image, so its text cannot be selected or searched. Both files are named traffic-sketch- followed by the case number, or "case" when that field is empty. Print report sends the same sheet to the system print dialog, which also offers "Save as PDF"; printing with Ctrl+P prints the sheet too, not the editor. The files are generated in your browser.
Where your draft is kept
The editor saves your draft in this browser's local storage a moment after each change, and the status at the top of the editor reads "Draft saved". The draft holds the template, roads, strokes, elements, measurements, photo, case fields, narrative and scale, and it comes back the next time you open the editor in the same browser.
There is one draft per browser. There is no account and no cloud copy: the draft does not follow you to another device or browser, and clearing this site's data deletes it. If the browser runs out of room, usually because of a large photo, the status reads "No room to save (photo too large)" and the sketch exists only in the open tab, so export it before closing the tab.
Undo keeps up to 40 steps while the page is open; that history is not saved, so a reload cannot be undone. Clear removes the elements, measurements and strokes. Reset all also removes the roads, the photo, the case fields and the narrative, and returns the template to the 4-way crossing.
What the editor does not do
- It has no angle tool: it does not measure or label angles.
- It has no accounts, cloud storage or share links.
- It is not a reconstruction: it draws what you place, does not calculate speeds, paths or fault, and does not check the drawing against the scene.
- It cannot calibrate the scale against a photo or take typed distances: every measurement is calculated from the drawing.
- Strokes from Pen, Line, Arrow and Rectangle cannot be edited after they are drawn.
For taking measurements at a scene, read how to measure an accident scene.
How to create a collision sketch
Choose a road layout or paste a photo, place vehicles and people, rotate them, draw travel arrows, add illustrative measurements and export PDF or PNG.
What a sketch can include
Road layout, direction of travel, vehicle positions, impact point, signs, road markings, measurements, case information and relevant hazards.
Who it is built for
Drivers and anyone who needs a clean diagram for a report or claim.
Frequently asked questions
Is My Traffic Sketch free?
Yes. The sketch editor and exports are free and require no account.
Do I need an account?
No. The draft is saved locally in your browser.
Can I export PDF and PNG?
Yes. Both formats are generated directly in your browser.
Are the measurements forensic?
No. Measurements are illustrative and must be independently verified.